Training Seminar 9 - Use your own data
Session Information
Case Study Site: Development in Townsville, alongside foreshore, QLD and a Greenfield development in Melbourne, VIC
Recorded on Wednesday 17 June 2020 | 1pm AEST
This training seminar will discuss different ways of how to integrated your own data into the Scenario-Tool
Land Cover File
The land cover file is one of the crucial data sets in the Scenario-Tool. With a geoscape licence the Scenario-Tool can provide access to a land cover map for urban areas.
However it is also possible to load your own classification into the tool.
We use QGIS to create the land cover information. QGIS has two useful plugins to generate land cover data from aerial imagery.
Training seminar 3 demonstrates the dzetsaka Classification tool. A tutorial on how the use the tool can be found here.
If you would like to use the Semi-Automatic Classification plugin please follow the step-by-step guide here.
Files to be used can be access here: Google Drive Folder (or email us for the files)
Creating a new project with your data
To create a new model for Townsville, select the Brisbane region and make sure advanced setup is selected. Next you can upload your land cover file and initialise the model.
Results
You should see the summary statistics provided on the dashboard. Now you can set up and run scenarios as shown in Seminar 1 and 2.
Green field development
Lot subdivision
Although the Scenario-Tool provides basic functionality to generate lot sub divisions for rapid scenario testing it is also possible to integrate existing lot subdivisions.
To do so first initialise a green field development using the “simple model setup” in case of the lot subdivision we will add data as part of a scenario.
To import the data export the lots of interest in your GIS program to GeoJSON in WSG84 coordinates. The data can now be imported as GIS data into the scenario tool.
- To integrate the data in the tool we use the “Residential” node. To load the lots we set the
parameters as shown below. As a bonus the node will also generate buildings and modifies the land cover grid accordingly.
Files to be used can be access here: Dropbox Folder - Workflow node: Residential - Area: Imported Lots - City block: - width: 10000 - height: 10000 - Street offset: 0.01 - City parcel: - width: 10000 - depth: 10000 - Building parameter as is - Street tree spacing parameter: 10000 (or email us for the files)
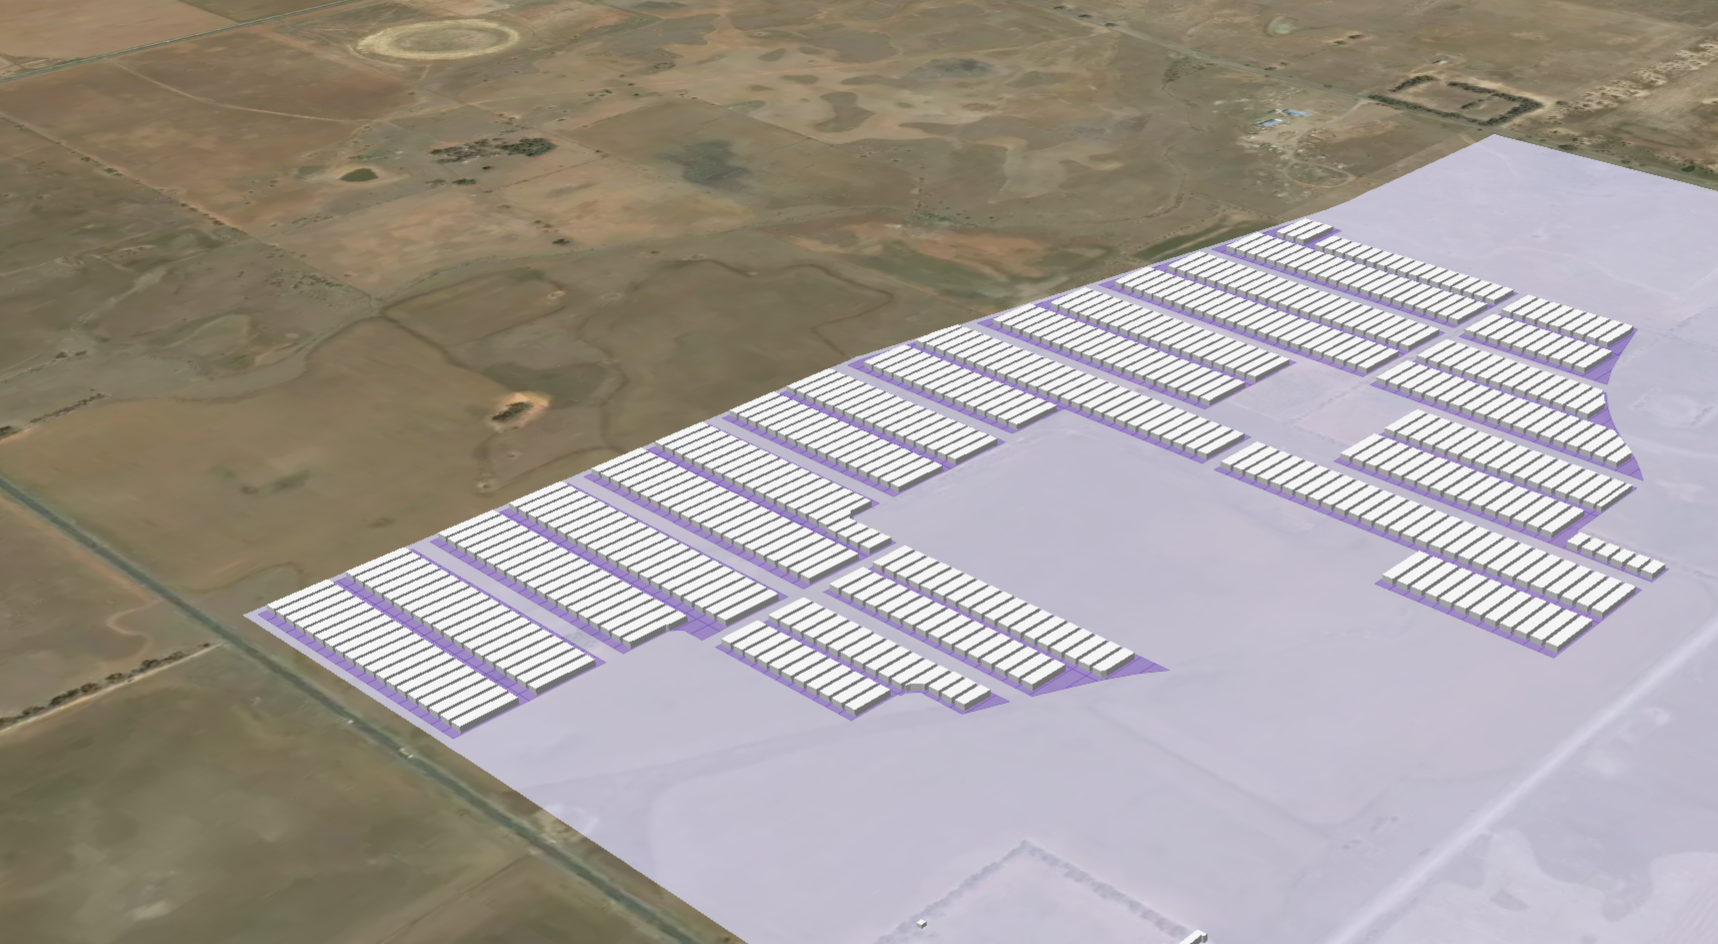
Fig. 1 Imported lot data with generated buildings
Lots and buildings
To integrate lots and buildings requires the use of soe of the more advanced functionality in the scenario-tool. The lot information can be imported as before. As a first step we will copy the imported data onto the parcel layer and set the default data for the micro-climate grid using the assign fraction node.
- Workflow node: Copy Feature
Area: Imported Lots
to Layer: parcel
- Workflow node: Assign Fractions
Area: Imported Lots
Set the values concrete, grass and irrigated grass as needed.
To load the building footprints into the tool export the data form your GIS tool into GEOJson in WSG84. To set the building height define a height attribute on the feature.
- Workflow node: Copy Feature
Area: Imported buildings
to Layer: building
- Workflow node: Assign Fractions
Area: Imported buildings
roof cover: 1